Stone facades give your building a timeless, high-value appearance while offering durable, low-maintenance cladding options that suit both traditional and modern designs. You can achieve the look of natural stone with manufactured veneer panels that drain moisture, speed installation, and often require no sealing or mortar, saving time and money on installation and upkeep.
This post Stone Facade will explain what stone facades are, how different systems work, and what installation and maintenance involve so you can choose the right approach for your project. Expect practical comparisons of natural vs. manufactured options, guidance on moisture management and rainscreen detailing, and straightforward steps to keep your facade performing and looking its best.
Stone Facade Basics
Stone facades combine material choice, installation method, and performance expectations into a single exterior system. You’ll decide between full-thickness masonry, thin veneer, or engineered panels, and weigh appearance, weight, cost, and maintenance needs.
Types of Stone Facades
You can choose from three common types: full-thickness masonry, stone veneer, and stone-clad panel systems.
Full-thickness masonry uses stacked natural stone tied into the structure; it’s heavy and requires a robust foundation and skilled masons.
Stone veneer is thin-cut natural stone or manufactured stone adhered or mechanically anchored to a backup wall; it reduces weight and cost while preserving a natural look.
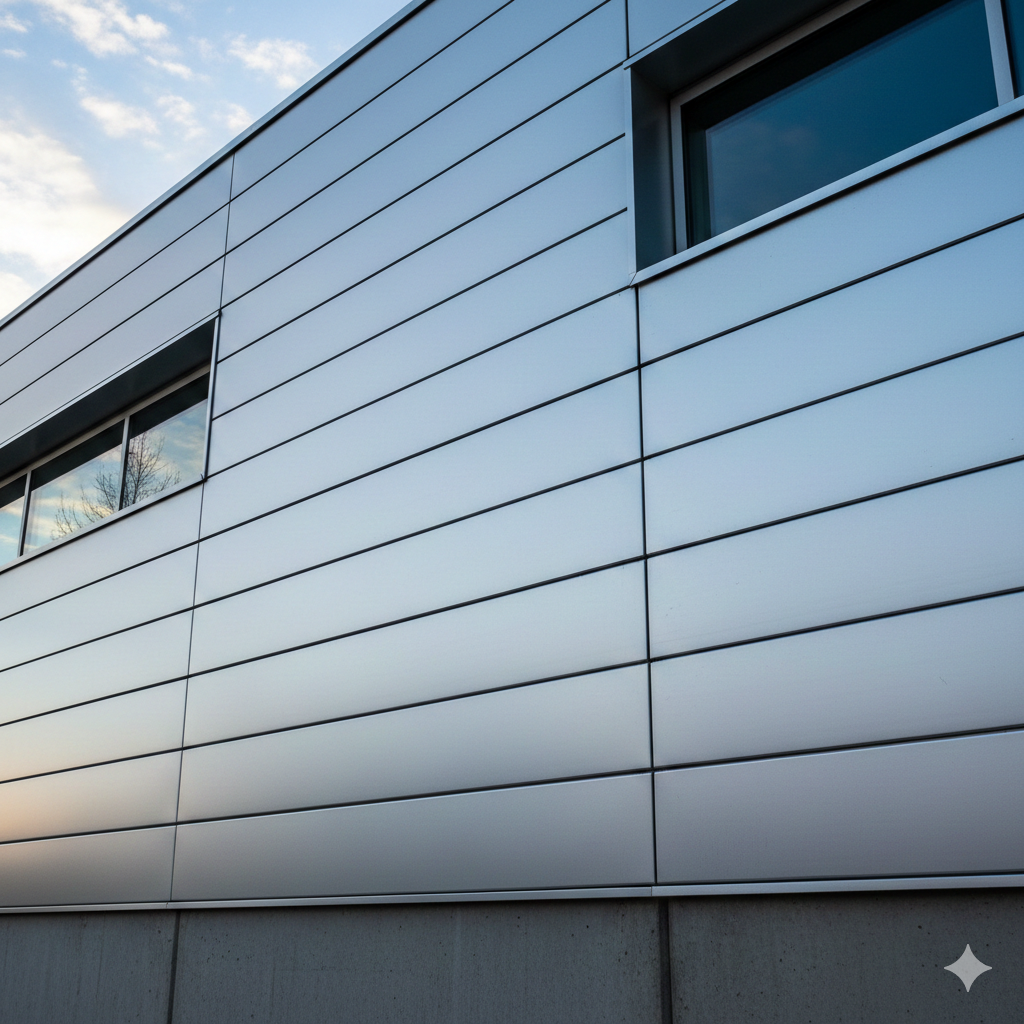
Panel systems—prefabricated stone or stone-faced panels—attach with mechanical anchors to a subframe and speed up installation on large buildings.
Consider thermal performance, seismic requirements, and local wind loads when selecting a type.
Check local codes and structural capacity before committing; some older structures need reinforcement for heavier options.
Stone Veneer vs. Natural Stone
Stone veneer gives the appearance of full stone at a fraction of the weight and cost.
Natural thin-cut veneer is real stone, typically ¾”–1½” (20–40 mm), offering authentic texture and long-term durability.
Manufactured veneer (cast stone) mimics grain and color more consistently and can reduce waste and variability.
Full-thickness natural stone offers superior longevity and impact resistance but increases structural demands and installation time.
Veneer systems require proper moisture management—air gaps, waterproof membranes, and flashings—to prevent trapped water and freeze-thaw damage.
Ask for samples, testing data, and installation details; warranty terms often differ substantially between veneer and full stone.
Core Benefits of Stone Facades
Stone delivers long service life and weather resistance when detailed correctly.
It resists UV, rot, and most insect damage, reducing repainting or siding replacement costs over decades.
Stone adds measurable property value and curb appeal; buyers often perceive stone-clad exteriors as higher quality.
Thermal mass from thicker stone can moderate temperature swings, improving energy performance in some climates.
Maintenance is generally low: periodic joint inspection, repointing when mortar fails, and clearing debris from cavities suffice.
Balance these benefits against higher upfront costs, potential structural upgrades, and the need for trained installers to ensure performance.
Installation and Maintenance
You will learn how stone panels or individual veneer pieces are fixed to walls, what specific tools and materials you need, and practical maintenance steps to keep the facade sound and attractive. Focus on correct substrate preparation, proper fixings or adhesives, and routine inspection and cleaning.
Installation Methods
Choose between adhered veneer, mechanical-anchored panels, or full-thickness natural stone tied to structural backup. For adhered veneer, apply a cement-based scratch coat or polymer-modified mortar to a clean, rigid substrate; back-butter each piece and leave consistent joint spacing. Use a 3/8″ gap at the top course to accommodate band board shrinkage on new two-story construction.
Mechanical anchoring suits thin stone panels or heavy natural units: set metal ties, anchors, or Z-clips into the backup wall and engage factory edges or cast-in mullions. Provide a continuous weather-resistive barrier and a drained cavity when installing over sheathing—install flashings at sills, windows, and rooflines. Follow manufacturer load and spacing tables for anchors; use stainless steel in coastal or high-moisture environments.
Required Tools and Materials
Gather substrate-specific materials first: weather-resistive barrier, corrosion-resistant anchors, and manufacturer-recommended mortar or adhesives. Typical tools include angle grinder with diamond blade, wet saw, mortar trowels, level, masonry chisel, hammer, drill with masonry bits, and jointing tools.
Keep personal protective equipment: safety glasses, dust mask or respirator, hearing protection, and gloves. Use compatibility-matched materials: polymer-modified mortar with manufactured veneer, epoxy or mechanical anchors for large panels, and breathable sealants where required. Stock spare anchors, sealant, and matching mortar for onsite adjustments.
Maintenance Tips
Inspect the facade twice yearly and after major storms: check for loose units, cracked mortar, and deteriorated flashings. Probe suspect areas gently; repair loose stones promptly to prevent water intrusion and greater structural damage. Replace or reseal failing flashings and ensure through-wall flashings direct water to the exterior.
Clean with low-pressure water and a soft bristle brush; avoid acid washes on sensitive natural stones. Test any cleaner on an inconspicuous area first. Reseal non-breathable stones only with manufacturer-approved sealers and reapply every 3–7 years depending on exposure. Maintain proper drainage at grade and keep vegetation trimmed away from the wall.